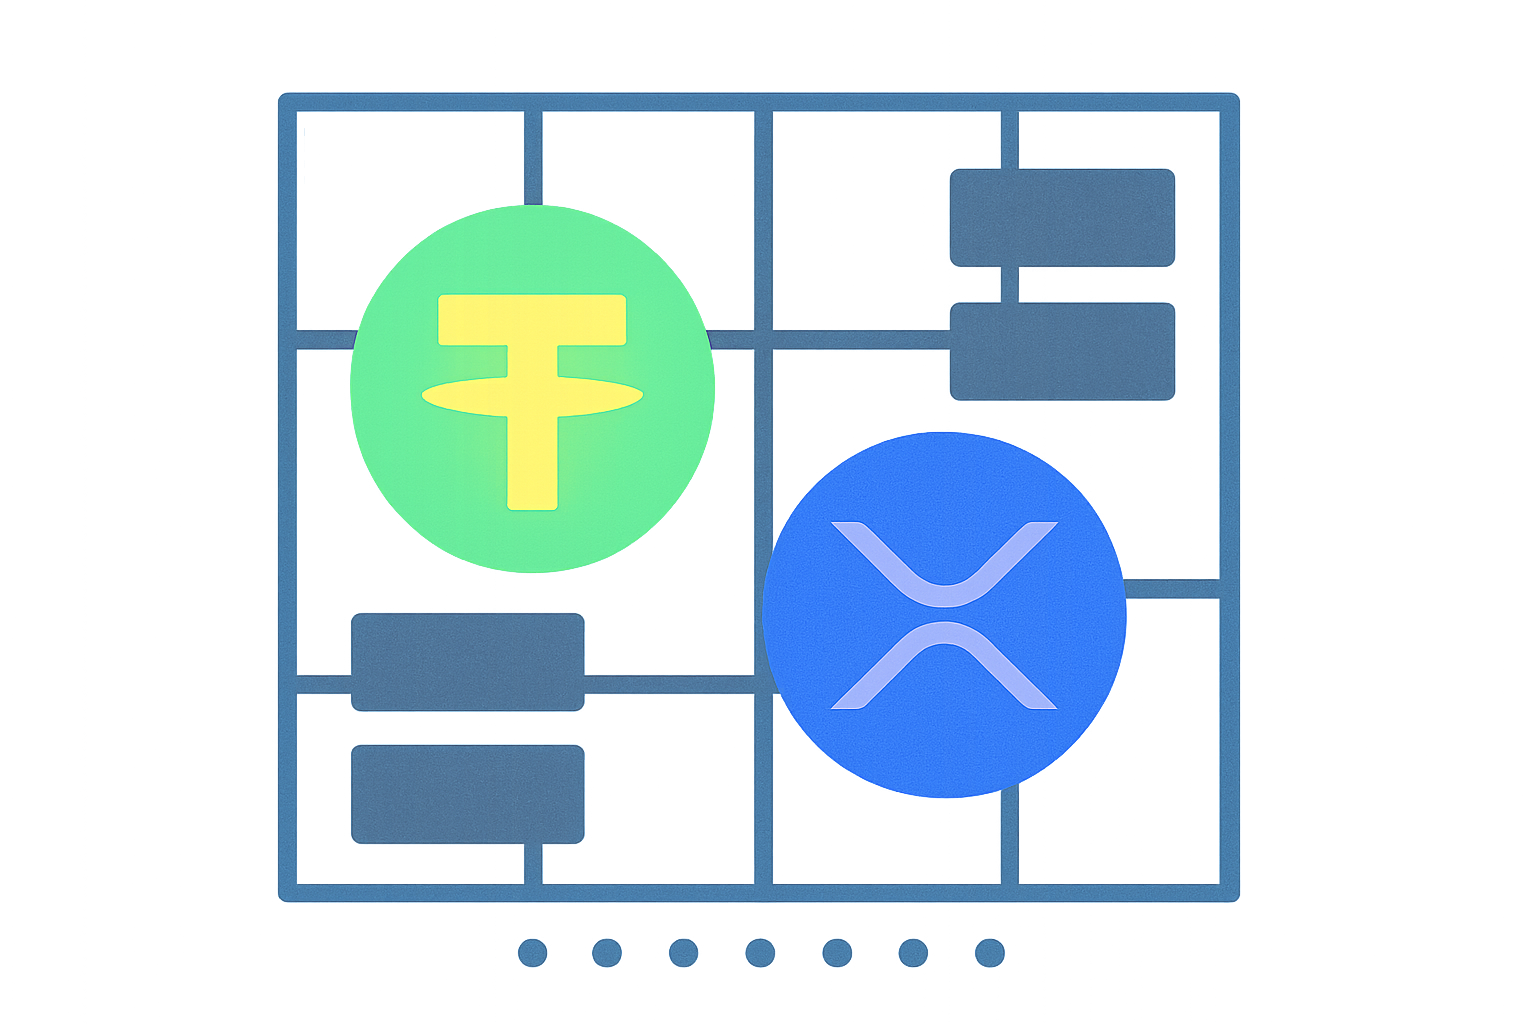
The complete guide to converting USDT to Japanese yen. This resource provides detailed steps for exchanging USDT for XRP on international platforms like Gate, followed by secure conversion to yen through domestic exchanges. It covers strategies for minimizing fees, complying with the Travel Rule, and leveraging DeFi solutions—offering a comprehensive cash-out roadmap tailored for beginners.
Fundamentals of USDT Cash-Out Routes Using Centralized Exchanges
Directly converting USDT (Tether) to Japanese yen within Japan is prohibited due to regulatory limitations. As a result, combining overseas crypto exchanges with domestic platforms has become the standard method for cashing out. This multi-step process enables secure and efficient conversion of USDT to yen.
The typical workflow is:
Exchange USDT for XRP at an overseas exchange → Transfer XRP to a Japanese exchange → Sell XRP for yen → Withdraw funds to your bank account
This route is widely recommended for several key reasons.
First, Japanese exchanges are not permitted to support USDT. No registered crypto exchanges in Japan have offered direct USDT trading in recent years. This is driven by legal restrictions, particularly the Payment Services Act, which imposes strict requirements on stablecoin operations. Therefore, if you hold USDT, you must convert it—most commonly to XRP—before transferring funds to Japan.
Second, XRP offers exceptionally low transfer fees and near-instant settlement. XRP network transactions typically cost only a few yen and settle within seconds or minutes. Compared to Bitcoin or Ethereum, XRP delivers a clear advantage by significantly reducing cash-out costs and minimizing wait times. For large transfers, the fee difference is substantial.
Additionally, this route fully complies with Japanese regulations and offers robust security. By using licensed domestic exchanges, users meet KYC (identity verification) and AML (anti-money laundering) requirements. Since the final withdrawal is to a bank account at a Japanese financial institution, the process is transparent and highly reliable.
For these reasons, the **“USDT → XRP → Japanese yen”** route is regarded as the safest and most practical option for crypto holders residing in Japan. It is suitable for both beginners and advanced users.
Step-by-Step Guide: How to Cash Out USDT to Japanese Yen
Based on the above, here is a detailed breakdown of the steps required to convert USDT to yen. Each phase is explained so even first-time users can follow along.
The most recommended route is:
◎ Recommended Route: Overseas Exchange (hold USDT) → Overseas Exchange (convert to XRP) → Domestic Exchange (receive XRP, convert to yen) → Bank Account
This pathway provides optimal cost efficiency, speed, and security, making it the preferred choice for most users.
Overview & Preparation for the Cash-Out Process
Before starting, make sure to complete the following preparations:
-
Open an account and complete KYC at a domestic exchange
First, sign up with a Japanese crypto exchange and complete ID verification (KYC). You'll need a government-issued document such as a driver's license or My Number card. Allow several days for approval and plan ahead.
-
Open an account with an overseas exchange (if required)
Depending on your USDT holdings, you may need to register with an overseas exchange. Many leading platforms offer Japanese-language interfaces for easy onboarding.
-
Deposit USDT to the overseas exchange
If you store USDT in a personal wallet (such as MetaMask), send it to your overseas exchange account. Be sure to select the correct network (ERC-20, TRC-20, etc.) when transferring.
-
Exchange USDT for XRP at the overseas exchange
Use the spot trading feature to swap USDT for XRP. Choose the “XRP/USDT” pair and place your order at market or via limit order.
-
Send XRP from the overseas exchange to the domestic exchange
Transfer your XRP to the domestic exchange’s deposit address. For XRP, you may need to enter a “Destination Tag” along with the address—double-check requirements before sending.
-
Sell XRP at the domestic exchange (convert to yen)
Once XRP arrives, sell it for yen by selecting the “XRP/JPY” trading pair and entering a sell order for your holdings.
-
Withdraw yen to your bank account
Transfer your yen balance from the exchange to your bank account. This typically takes 1–3 business days.
Following these steps, you’ll complete the cash-out process from USDT to Japanese yen. Careful preparation and attention to each step will ensure a smooth experience and help avoid issues.
USDT-to-XRP Conversion at Overseas Exchanges
The critical stage in cashing out is converting USDT to XRP at an overseas exchange. This step is essential to work around the restriction on direct USDT transactions in Japan.
Why exchange USDT for XRP?
Japanese exchanges cannot support USDT due to the Payment Services Act. As a result, you cannot send USDT directly to domestic platforms. By converting to XRP—a widely supported asset—you can transfer funds into Japan. XRP’s low fees and fast settlement make it the ideal bridge asset.
Choosing an overseas exchange:
Consider Japanese language support, fees, and liquidity when selecting an overseas exchange. Many top platforms feature Japanese interfaces and are easy for local users. Regardless of the platform, the cash-out process remains consistent—pick the one best suited to your needs.
Step 1: How to Deposit USDT to an Overseas Exchange
If you hold USDT in a personal wallet (e.g., MetaMask), you’ll need to deposit it to your overseas exchange account. Pay particular attention to the following:
Always select the correct address and network:
Copy the deposit address from your exchange and paste it into your wallet. Be sure to match the network type (ERC-20, TRC-20, BEP-20, etc.). Incorrect network selection may result in lost funds.
Test transfers:
For first-time or large transfers, always send a small test amount (around 10 USDT) to confirm successful delivery before transferring the full balance. This helps prevent accidental losses.
Optimize gas fees (network fees):
USDT is available on multiple blockchains, each with different fees. ERC-20 (Ethereum) can be costly during congestion. If your exchange supports TRC-20 (Tron) or BEP-20 (Binance Smart Chain), use those networks for significant cost savings.
Step 2: How to Swap USDT to XRP
Once USDT is deposited, swap it for XRP. Interfaces may differ, but the basic procedure is:
Select your trading pair:
Go to the spot trading screen and select “XRP/USDT.” This pair is highly liquid and available at most exchanges.
Place your order:
Enter the amount of USDT to use in the Buy XRP field. Choose market orders for instant execution, or limit orders to target better prices. If you’re not in a rush, limit orders can save some cost. However, market orders typically carry very low fees (around 0.1%), making them convenient for quick trades.
Verify your transaction:
Once your order is filled, your USDT balance will decrease and XRP will be credited to your account. Check your history or assets screen to confirm the correct amount of XRP.
Fees at this stage:
Two primary fees apply:
- **Trading fee:** Around 0.1% (varies by exchange and VIP status). For example, a 1,000 USDT trade incurs about 1 USDT in fees.
- **Spread:** The difference between bid and ask in low-liquidity markets. For “XRP/USDT,” which is highly liquid, spread impact is minimal.
Can I choose crypto assets other than XRP?
XRP is the most common bridge asset, but alternatives like Litecoin (LTC) and Stellar Lumens (XLM) also offer low fees and are supported by many Japanese exchanges.
However, XRP's broad support and high trading volume make it the safest choice for most users, especially beginners. Unless you have a specific reason, XRP is recommended. If you choose another asset, always confirm support at your domestic exchange in advance.
How to Cash Out USDT Using DeFi (Decentralized Finance)
In addition to centralized exchanges, you can cash out USDT by combining a Web3 wallet (such as MetaMask) and a decentralized exchange (DEX). This method involves swapping your USDT for another crypto asset via a DEX, then sending it to a domestic exchange for conversion to yen.
How direct wallet swaps work:
If you hold USDT in a Web3 wallet, you can use DEXs such as Uniswap or PancakeSwap to swap USDT for other assets. For example, on the Ethereum network, swap USDT for ETH; on Binance Smart Chain, swap for BNB.
Swap to assets supported by domestic exchanges:
Be sure to choose a swap asset that your domestic exchange accepts. On Ethereum, ETH or major ERC-20 tokens; on Binance Smart Chain, major BEP-20 tokens. Note that XRP has its own blockchain and can't be acquired directly via DEXs like Uniswap (you'd need to use tokenized versions such as Wrapped XRP, which is more complex).
Send to domestic exchange and convert to yen:
Send the swapped asset (ETH, BTC, etc.) to your Japanese exchange account. From there, follow the standard process: sell the asset for yen and withdraw to your bank account.
While this appears similar to the centralized exchange route, cashing out via DeFi carries important caveats and drawbacks.
Precautions and Challenges in DeFi-Based Cash-Outs
Gas fees (network fees):
Swapping on DEXs or sending assets to an exchange always incurs blockchain gas fees. On Ethereum, these can be tens or even hundreds of dollars during congestion, which is a significant burden for small transactions.
Slippage risk:
DEXs are subject to slippage—exchange rates may fluctuate based on liquidity pools. Low liquidity or large trades may result in unfavorable rates. To minimize slippage, consider splitting large transactions into smaller ones.
Risk of loss due to user error:
DeFi operations are entirely self-managed. Mistakes—such as incorrect addresses, wrong network selection, or smart contract approval errors—can lead to permanent loss of funds. There is no customer support, so problems must be resolved independently.
Direct yen conversion is impossible:
DEXs only facilitate swaps between crypto assets. You must still use a domestic centralized exchange for the final conversion, making the process more complicated than the centralized route.
For these reasons, DeFi-based cash-outs are best suited for users with intermediate or advanced blockchain expertise. Beginners are strongly advised to start with the centralized exchange route described above.
Practical Strategies to Optimize Cash-Out Costs
Multiple fees arise throughout the USDT-to-yen process. Here are practical strategies for minimizing costs.
Withdrawal fees at different domestic exchanges:
JPY withdrawal fees vary widely. Here is a summary for leading Japanese exchanges:
| Exchange |
JPY Withdrawal Fee (tax included) |
| Coincheck |
407 yen (flat rate) |
| bitbank |
Less than 30,000 yen: 550 yen; 30,000 yen or more: 770 yen |
| bitFlyer |
Mitsui Sumitomo Bank: 220–440 yen; Other banks: 550–770 yen |
| GMO Coin |
Free (400 yen for large withdrawals only) |
| SBI VC Trade |
Free |
| DMM Bitcoin |
Free |
| BITPoint |
Free once per month (330 yen per additional withdrawal) |
*Based on recent market data. The best choice depends on withdrawal frequency and amount.
Frequent withdrawals make zero-fee or discounted platforms more cost-effective over time.
Lower costs by selecting optimal transfer networks:
When sending USDT to an overseas exchange, choose the blockchain network with the lowest fees. TRC-20 (Tron) and BEP-20 (Binance Smart Chain) are much cheaper than ERC-20 (Ethereum).
If you only have ERC-20 USDT, consider using a bridge service to migrate to a cheaper network. Note that bridges carry extra fees and technical risks, so proceed carefully.
Lump-sum vs. split transfers:
Sending your entire balance at once means paying a single fee, but a mistake risks losing everything. For first-time or unfamiliar transfers, send a small test amount first, confirm successful delivery, then transfer the rest.
Although tests add cost, the added safety outweighs the risk of losing a large sum.
Consider exchange rate fluctuations when timing your cash-out:
USDT is pegged to the US dollar, but the final yen amount depends on the USD/JPY rate. For large conversions, check rates before trading and avoid unfavorable timing.
Spreading conversions over multiple transactions can help average out exchange rate risk—a strategy known as “dollar-cost averaging”—for more stable results over time.
Utilize exchange promotions and campaigns:
Some exchanges offer limited-time discounts or free withdrawals. New user bonuses may also apply.
Timing cash-outs to coincide with these offers can yield additional savings. Monitor exchange websites and app notifications to take advantage of promotions.
By combining these strategies, you can **convert USDT to yen safely and efficiently, minimizing unnecessary costs.** Choose the route that best fits your situation.
Why USDT Is Unavailable in Japan: Regulatory Background
USDT (Tether) remains unlisted at Japanese exchanges, even today. Meanwhile, USDC (USD Coin)—another USD-pegged stablecoin—is available at some platforms, with more planning to adopt it soon.
This contrast is largely due to Japan’s legal framework, especially the Payment Services Act.
Stablecoin Regulations Under the Payment Services Act
The Payment Services Act now legally defines stablecoins as “electronic payment instruments,” allowing banks, trust companies, and payment providers to issue and circulate them under strict conditions.
Overseas stablecoins require full compliance and registration with the Financial Services Agency to be circulated in Japan. The process is rigorous, demanding financial disclosures, reserve management, and audit transparency from issuers.
Previously, there was no clear legal standard for fiat-pegged digital currencies, which effectively blocked their listing. For USDT, ongoing concerns over Tether’s reserve backing and audit transparency remain the primary reason for its exclusion.
Global Regulatory Tightening and Its Impact
Worldwide, scrutiny of USDT has intensified. The EU’s Markets in Crypto-Assets (MiCA) regulation has prompted major exchanges to delist USDT.
In the United States, comprehensive stablecoin legislation is under consideration, which could require strict reserve management and regular audit reporting from issuers like Tether.
Japan’s regulators are influenced by these trends, prioritizing market integrity and investor protection, and remaining cautious about stablecoins with limited transparency.
Consequently, handling USDT directly in Japan remains impossible, and individual users cannot cash out USDT for yen directly. The workaround—exchanging USDT for XRP at an overseas platform, then converting to yen at a domestic exchange—is the prevailing and safest solution.
Travel Rule and Key Considerations for USDT Transfers
When cashing out USDT, you must understand the Travel Rule. This regulation enhances transparency in crypto transfers and helps combat money laundering and terrorism financing.
Travel Rule: Core Principles and Purpose
The Travel Rule, established by FATF (Financial Action Task Force), requires crypto service providers to share sender and recipient information during transfers.
Japan enforces this rule, requiring registered exchanges to implement systems for automatic information exchange between licensed domestic entities.
Domestic Exchange Transfer Restrictions
Travel Rule implementation differs by exchange, with systems such as TRUST and Sygna in use. Compatibility issues may block direct crypto transfers between certain exchanges, causing errors or failed transactions.
These restrictions are regulatory—not the fault of the exchanges—and may confuse users when transfers fail.
How Overseas Exchanges and Personal Wallet Transfers Are Treated
Importantly, these restrictions apply only to transfers between registered domestic operators. Transfers from overseas exchanges or personal wallets are typically not restricted by the Travel Rule.
For example, the “overseas exchange → domestic exchange” route described in this article does not require Travel Rule information sharing, so standard transfers are possible.
However, international standards may eventually require tighter KYC and information sharing for cross-border transfers.
Practical Tips for Users
For transfers between domestic exchanges:
Confirm the recipient address belongs to a registered domestic operator. If you encounter a transfer block, send funds to your personal wallet (such as MetaMask) first, then forward to the destination exchange.
For transfers from overseas exchanges:
The cash-out route described here—“overseas non-registered → domestic registered”—is not subject to Travel Rule limitations. However, domestic exchanges may request additional verification or source details when receiving funds.
Stay prepared for future regulatory changes:
Crypto regulations are constantly evolving. Stricter requirements may apply to international transfers in the future. Understanding the Travel Rule is vital for long-term crypto management.
Though the Travel Rule may seem inconvenient, it helps maintain market integrity and investor protection. Proper understanding and compliance allow for safe crypto transfers and cash-outs.
Summary: Best Practices for Converting USDT to Japanese Yen & Future Outlook
Since domestic exchanges cannot directly handle USDT, the optimal solution is to exchange USDT for XRP at an overseas exchange, transfer XRP to a Japanese exchange, and convert to yen.
XRP’s fast settlement and low fees make it an ideal bridge asset for cost efficiency. Using licensed domestic exchanges ensures regulatory compliance and transparency for peace of mind.
DeFi-based cash-outs are possible, but high gas fees and operational complexity make them suitable only for experienced blockchain users. Beginners should start with the centralized exchange route described above.
Take care at every step—mistakes in addresses or network selection can result in lost funds, so always perform a test transfer first. Careful selection of exchanges and networks can also dramatically reduce fees.
Understanding the Payment Services Act and Travel Rule helps you adapt to future regulatory changes. Crypto regulations evolve rapidly, so stay updated on the latest requirements.
By following the methods outlined here, you can convert USDT to yen smoothly and safely. Proceed step by step for secure and reliable cash-outs.
FAQ
What is USDT? Key Basics Before Converting to Japanese Yen
USDT (Tether) is a stablecoin pegged to the US dollar. It serves as a digital alternative to USD and can be sold for Japanese yen on exchanges. Its price stability makes it a common store of value.
Which Exchange Should I Use to Convert USDT to Yen? What’s the Recommended Method?
Japanese exchanges do not support direct USDT trading. The recommended approach is to swap USDT for XRP or another supported asset, transfer it to a domestic exchange, and then convert to yen. This multi-step process is the most dependable route.
How Much Are USDT-to-Yen Conversion Fees? What’s the Cheapest Method?
Exchange-based conversions typically carry fees of about 0.1%. Direct sales platforms may charge up to a 5% spread. Using an exchange is the most cost-effective method.
What’s the Safest USDT Cash-Out Method Compliant with the Payment Services Act?
Use an electronic payment provider licensed by the Financial Services Agency, and complete KYC and AML checks. Banks, money transfer services, and trust companies are legally secure options. Always select a provider compliant with the revised Payment Services Act.
What’s the KYC Process When Converting USDT to Japanese Yen?
You must submit a photo ID and proof of address as required by law. Verification typically takes minutes to several days and helps prevent money laundering.
Do I Need to Report Taxes When Cashing Out USDT? How Is It Treated Under Japanese Tax Law?
Tax liability arises when USDT is converted to yen. Proceeds are treated as miscellaneous or business income and must be declared. Pay income tax according to your profits.
What’s the Fastest Way to Convert USDT to Yen? How Long Does It Take?
The fastest solution is to swap USDT for XRP, transfer it to a domestic exchange, and convert to yen. This usually takes 1–2 business days.
What Should I Do If My Bank Withdrawal Doesn’t Arrive?
Withdrawals are typically credited the same day. If funds haven't posted by noon, contact support. Double-check your bank account details as well.
* The information is not intended to be and does not constitute financial advice or any other recommendation of any sort offered or endorsed by Gate.