Recommended Ethereum Wallets and Transfer Methods


Top Ethereum Wallets
Ethereum stands as the second most popular cryptocurrency by market capitalization after Bitcoin, and its utility extends far beyond long-term holding. Notably, it powers DeFi and DApps, enabling blockchain-based asset management with Ethereum. Since a wallet is required to access Web3 services, it’s wise to create one as soon as possible.
Many wallets now support ETH staking, making them essential tools for the Web3.0 era. This guide details the most widely used Ethereum-compatible wallets and explains how to transfer ETH to your wallet. Choosing a wallet that fits your needs is a crucial first step in exploring the Ethereum ecosystem.
Here are three top wallets for Ethereum:
- MetaMask
- Trust Wallet
- Rainbow
Top Ethereum Wallet #1: MetaMask
MetaMask is a cryptocurrency wallet built on the Ethereum blockchain. It supports Ethereum and a wide variety of ERC20 tokens. Thanks to extensive development over the years, MetaMask ranks among the most popular wallets globally.
Its intuitive interface and support for multiple languages, including Japanese, make it accessible for beginners. As a browser extension, MetaMask works with Chrome, Firefox, Brave, and other major browsers.
With MetaMask, users can seamlessly connect to DeFi, DApps, store and transfer Ethereum-based assets, and interact with NFT games—all built on blockchain technology. As a non-custodial wallet, MetaMask lets users control their private keys, providing robust security for their assets.
Top Ethereum Wallet #2: Trust Wallet
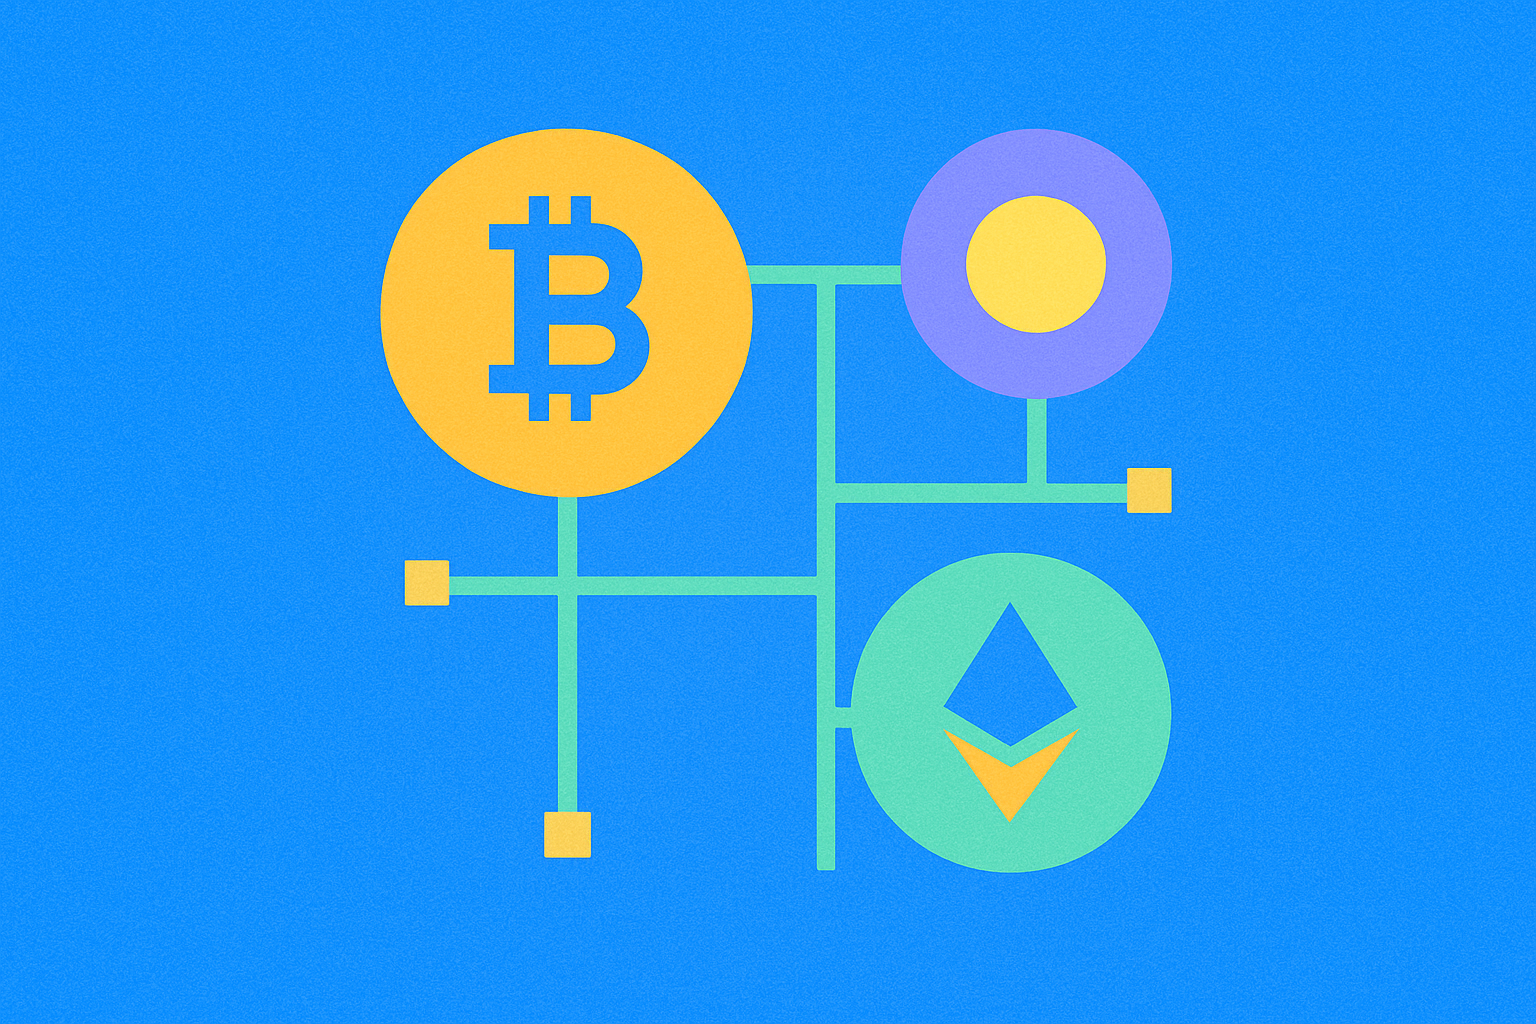
Trust Wallet is a wallet developed by a leading cryptocurrency exchange. Its standout feature is support for more than 65 blockchains, including Ethereum, BSC, and Solana.
Because it’s multi-chain, you can manage assets across various blockchains with a single wallet—eliminating the hassle of juggling multiple wallets. Certain exchange users can even trade directly without routing through the wallet, allowing for a seamless experience.
As a non-custodial wallet, Trust Wallet puts users in control of their private keys, ensuring asset security. It also enables direct crypto purchases with a credit card, removing the need to transfer funds from an exchange. The app is available for both iOS and Android and can be downloaded from the official site.
Top Ethereum Wallet #3: Rainbow
Rainbow differs from traditional wallets by letting users manage crypto directly on the Ethereum blockchain, blending high security with ease of use.
The interface is streamlined and highly intuitive, so even crypto newcomers can navigate it easily. Rainbow also integrates with leading DEXs, allowing users to buy and sell tokens directly in the app.
The app enables DApp integration directly from within the wallet, significantly lowering the entry barrier for new users. Rainbow also features advanced NFT display capabilities, so you can view your collection beautifully within the wallet—another reason for its popularity.
How to Transfer Ethereum to Your Wallet
This section provides a detailed, step-by-step guide to transferring Ethereum to your wallet, ensuring even first-time users can send ETH securely.
The process consists of three main steps:
- Purchase ETH at a crypto exchange
- Copy your ETH chain address from MetaMask
- Paste the address into the exchange’s transfer screen and send
Step 1: Purchase ETH at a Crypto Exchange
First, buy ETH at a crypto exchange. You can purchase ETH at either the broker or the exchange interface. Brokers are simpler for beginners, but exchanges usually offer tighter spreads and better pricing.
If you already own ETH on the exchange, make sure you have enough to cover the network fee. Transaction fees vary by platform, but it’s generally around 0.005 ETH. Always confirm your transfer amount exceeds the fee before sending.
Step 2: Copy Your ETH Chain Address from MetaMask
Next, open the browser extension or app and log into MetaMask. Ensure the network is set to "Ethereum Mainnet." If a different network (such as Polygon or BSC) is selected, switch back to "Ethereum Mainnet."
Click your wallet address at the top of the screen to copy it. This is a 42-character alphanumeric address beginning with "0x." You’ll use this address to receive ETH from the exchange, so copy it carefully.
Step 3: Paste the Address into the Exchange’s Transfer Screen and Send
Finally, return to the exchange, go to the "Assets" or "Withdraw" tab, and open the ETH transfer screen. Paste the ETH chain address you copied from MetaMask. Always use copy and paste instead of typing it manually to avoid errors.
Enter the amount of ETH you want to send. The transaction (gas) fee may be charged by the exchange or deducted from your transfer amount, so check beforehand. After verifying the fee, double-check that both the amount and address are correct, then click "Send."
Some exchanges require two-factor authentication (2FA). Follow the prompts to complete authentication as needed. Once the transfer is processed, you’ll see the transaction in both the exchange and MetaMask histories. Depending on network congestion, the transfer may take anywhere from a few minutes to several tens of minutes to appear.
What Can You Do with an Ethereum Wallet?
Below are two key Ethereum wallet features, using MetaMask as an example. Wallets are more than just storage—they’re gateways to a broad range of Web3.0 functionality.
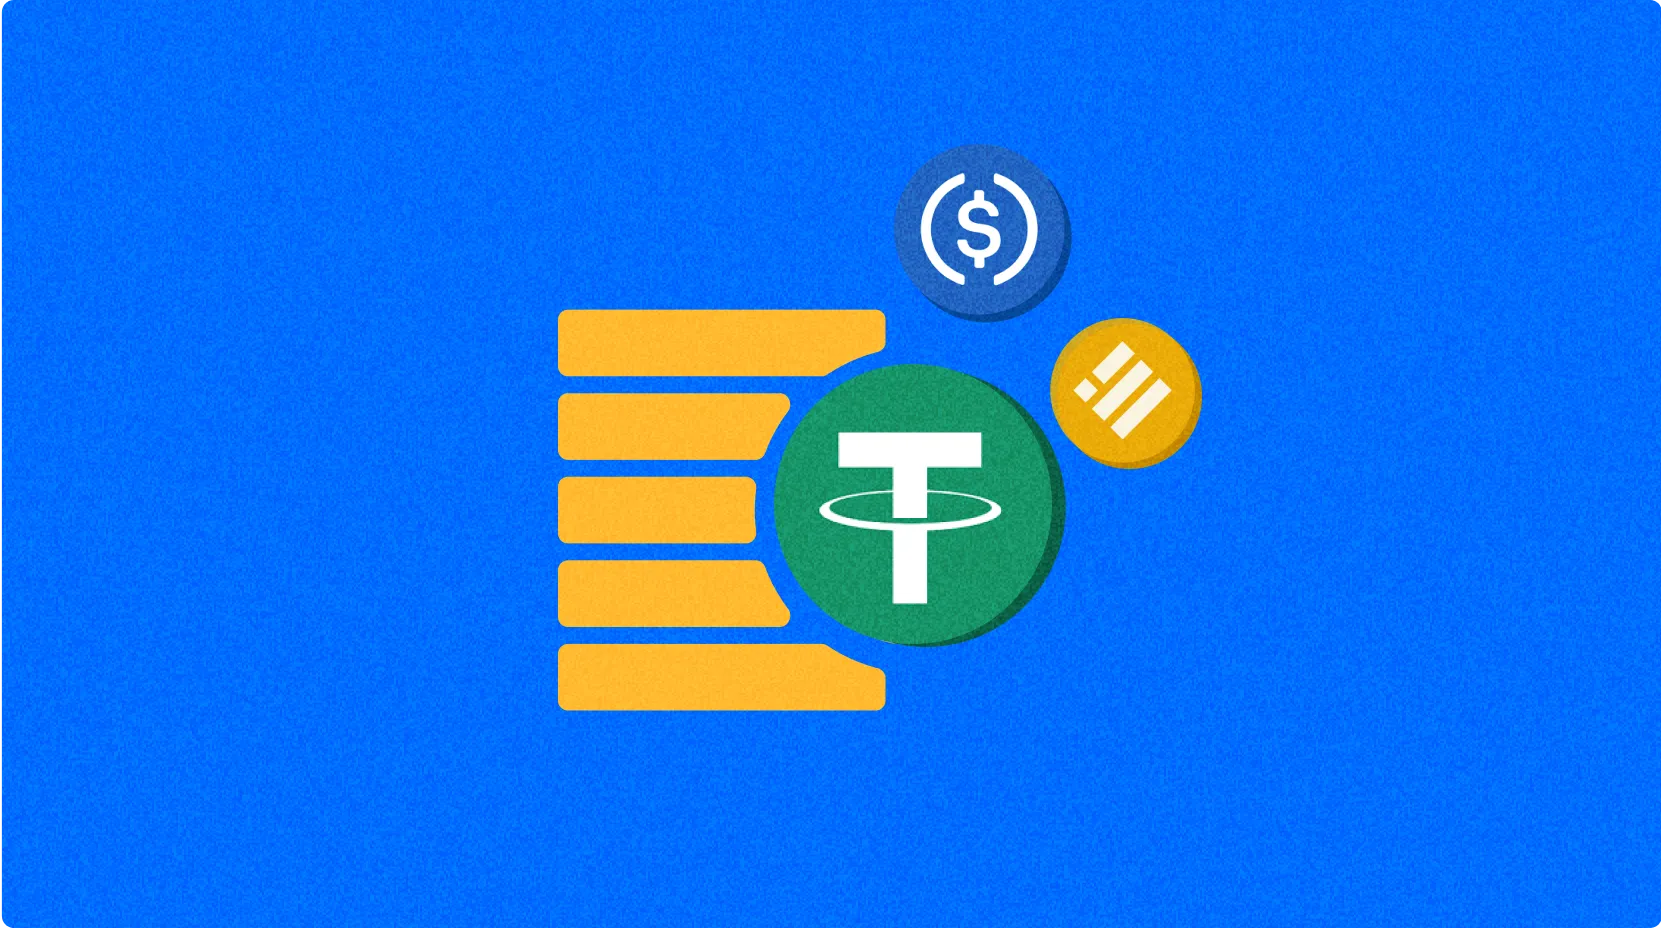
Feature #1: Buy ETH Directly in Your Wallet
You can buy ETH by integrating with services like Mercuryo and Transak. These let you purchase ETH directly within your wallet, skipping the exchange. You can also use a credit or debit card, making it easy for newcomers to acquire ETH.
Payment options vary by region, so check if your area is supported before buying. Service fees typically range from 3–5%.
Feature #2: Stake ETH from Your Wallet
By connecting with staking services like Lido, you can deposit ETH and earn rewards. Staking means locking up your ETH for a set period to earn yield, which helps secure the Ethereum network.
Yields vary by service but typically run a few percent annually. Note that your ETH is locked and cannot be used freely while staking. However, with liquid staking, you can maintain liquidity even while your ETH is staked.
Staking Services Compatible with MetaMask
MetaMask supports integration with several major staking services:
- Lido: A leading staking service that works seamlessly with MetaMask, offering 3.30% annual yield. With liquid staking, you receive stETH tokens, maintaining liquidity while your assets are staked.
- Rocket Pool: A decentralized staking service with a low minimum deposit—ideal for beginners. It offers a 2.90% annual yield and focuses on network decentralization and strong security.
FAQ
What types of Ethereum wallets are there, and what are their features?
Ethereum wallets fall into two categories: hot wallets and cold wallets. Hot wallets are internet-connected, making them convenient for daily transactions. Cold wallets store assets offline, offering higher security and making them suitable for large asset storage.
Which Ethereum wallet is best for beginners?
MetaMask is the top recommendation for beginners. It’s easy to use, highly secure, and widely recognized. It also lets you manage not just Ethereum, but other tokens as well.
How do MetaMask and Ledger differ?
MetaMask is a browser extension wallet, while Ledger is a hardware wallet. MetaMask offers convenience and accessibility; Ledger keeps your private keys offline for maximum security. Choose Ledger for robust security; opt for MetaMask if you value convenience.
How do I send funds from an Ethereum wallet to another address?
Open your wallet, select the send option, and enter the recipient’s address and the amount. Set the gas fee, then click send. Once the transaction is confirmed, the transfer is complete.
How can I keep my wallet secure?
Choose a wallet from a reputable provider and always keep it updated. Enable two-factor authentication, and never share your private key or seed phrase. Be sure to back up your wallet regularly.
How are Ethereum transaction fees (gas fees) calculated?
Gas fees are calculated as (base fee + priority fee) × gas limit. Users can set the base and priority fees, and these change depending on network congestion.
Share
Content
How to Buy Cryptocurrency


Trending Cryptocurrencies


How to Mine Ethereum in 2025: A Complete Guide for Beginners
Ethereum 2.0 in 2025: Staking, Scalability, and Environmental Impact
What is Ethereum: A 2025 Guide for Crypto Enthusiasts and Investors
How does Ethereum's blockchain technology work?
What are smart contracts and how do they work on Ethereum?
Ethereum Price Analysis: 2025 Market Trends and Web3 Impact
Is Bnext (B3X) a good investment?: A Comprehensive Analysis of the Digital Banking Platform's Potential and Risks
Smart Chain Platform for Beginners: A Comprehensive Guide
In-Depth Analysis of Cryptocurrency Scam "Rug Pull" Techniques and Countermeasures
7 Top Overseas Cryptocurrency-Related Stocks You Can Buy Through Domestic Brokerages
Top 6 Bitcoin ATMs for Low Fees and Privacy