What is Demand Supply Zone and How to Use It in Trading

Understanding Demand Supply Zone
Demand Supply Zone refers to price areas where significant buying and selling activities occur, or zones where price frequently touches and reacts. These zones operate based on market mechanisms that we commonly refer to as supply and demand dynamics.
In literal terms, a Demand Zone represents an area where buying demand is concentrated, while a Supply Zone indicates an area where selling pressure dominates. From a deeper perspective, these zones reflect the psychological framework behind the concepts of Support and Resistance levels. Understanding these zones helps traders identify potential price reversal points and continuation patterns.
In practical trading applications, Demand and Supply Zones are typically used in conjunction with Support and Resistance levels to enhance trading accuracy. For example, when price approaches a previously established Demand Zone, traders anticipate potential buying pressure that could halt or reverse a downtrend. Conversely, Supply Zones often act as barriers where selling pressure may emerge to cap upward price movements.
Demand Zone Pattern: Drop Base Rally (DBR)
The DBR pattern emerges when price experiences a downtrend, followed by a consolidation period (base), and then reverses into an uptrend. This formation signals a potential trend reversal from bearish to bullish momentum. The base area represents a critical point where buying demand begins to accumulate and overcome selling pressure, reaching an equilibrium that forms a support level.
During the "Drop" phase, sellers dominate the market, pushing prices lower. The "Base" phase indicates a period where buyers start entering positions, absorbing the selling pressure and creating balance. Finally, the "Rally" phase confirms that buyers have gained control, driving prices higher and establishing the zone as a significant demand area.
Traders often look for specific characteristics in DBR patterns, such as narrow price ranges during the base formation and strong bullish candles during the rally phase, which indicate robust buying momentum and increase the probability of successful trades.
Demand Zone Pattern: Rally Base Rally (RBR)
The RBR pattern occurs during an established uptrend when price pauses to consolidate before continuing higher. This pattern suggests that some market participants choose to take partial profits to manage risk, while new buyers who missed the initial rally enter positions during the consolidation phase.
The consolidation or "Base" in an RBR pattern serves as a healthy correction within an ongoing uptrend. It allows the market to digest previous gains and attract fresh buying interest at relatively better prices. This accumulation of new buying pressure during the pause provides fuel for the subsequent rally phase.
RBR patterns are particularly valuable for trend-following strategies, as they offer opportunities to enter positions in the direction of the prevailing trend with relatively favorable risk-reward ratios. The base area often acts as a support level in future price action, making it a reference point for subsequent trading decisions.
Supply Zone Pattern: Rally Base Drop (RBD)
The RBD pattern develops when price rises in an uptrend, consolidates in a base formation, and then reverses into a downtrend. This pattern signals a potential trend reversal from bullish to bearish momentum. The base area represents a zone where selling pressure begins to build up while buying demand weakens, reaching an equilibrium that forms a resistance level.
During the "Rally" phase, buyers control the market and push prices higher. The "Base" phase indicates a shift in market sentiment where sellers start entering positions and buyers become less aggressive. The "Drop" phase confirms that sellers have gained control, driving prices lower and establishing the zone as a significant supply area.
Identifying RBD patterns early can help traders avoid buying at market tops and instead position themselves for potential short opportunities. The strength of the subsequent drop often correlates with the duration and tightness of the base consolidation, with tighter bases typically leading to more aggressive selling pressure.
Supply Zone Pattern: Drop Base Drop (DBD)
The DBD pattern occurs during an established downtrend when price pauses to consolidate before continuing lower. This consolidation suggests that some market participants perceive prices as undervalued and begin accumulating positions. However, the prevailing selling pressure remains dominant, causing prices to resume the downtrend.
The base formation in a DBD pattern represents a temporary pause in selling momentum rather than a genuine reversal. While some buyers attempt to establish positions during this phase, they are ultimately overwhelmed by continued selling pressure from participants who maintain bearish outlooks.
DBD patterns are useful for identifying continuation opportunities within downtrends. Traders can use these patterns to enter short positions or add to existing bearish positions with improved risk management, as the base area often serves as resistance in subsequent price movements.
Analyzing the Strength of Demand Supply Zones and Support Resistance Levels
Candlestick Analysis
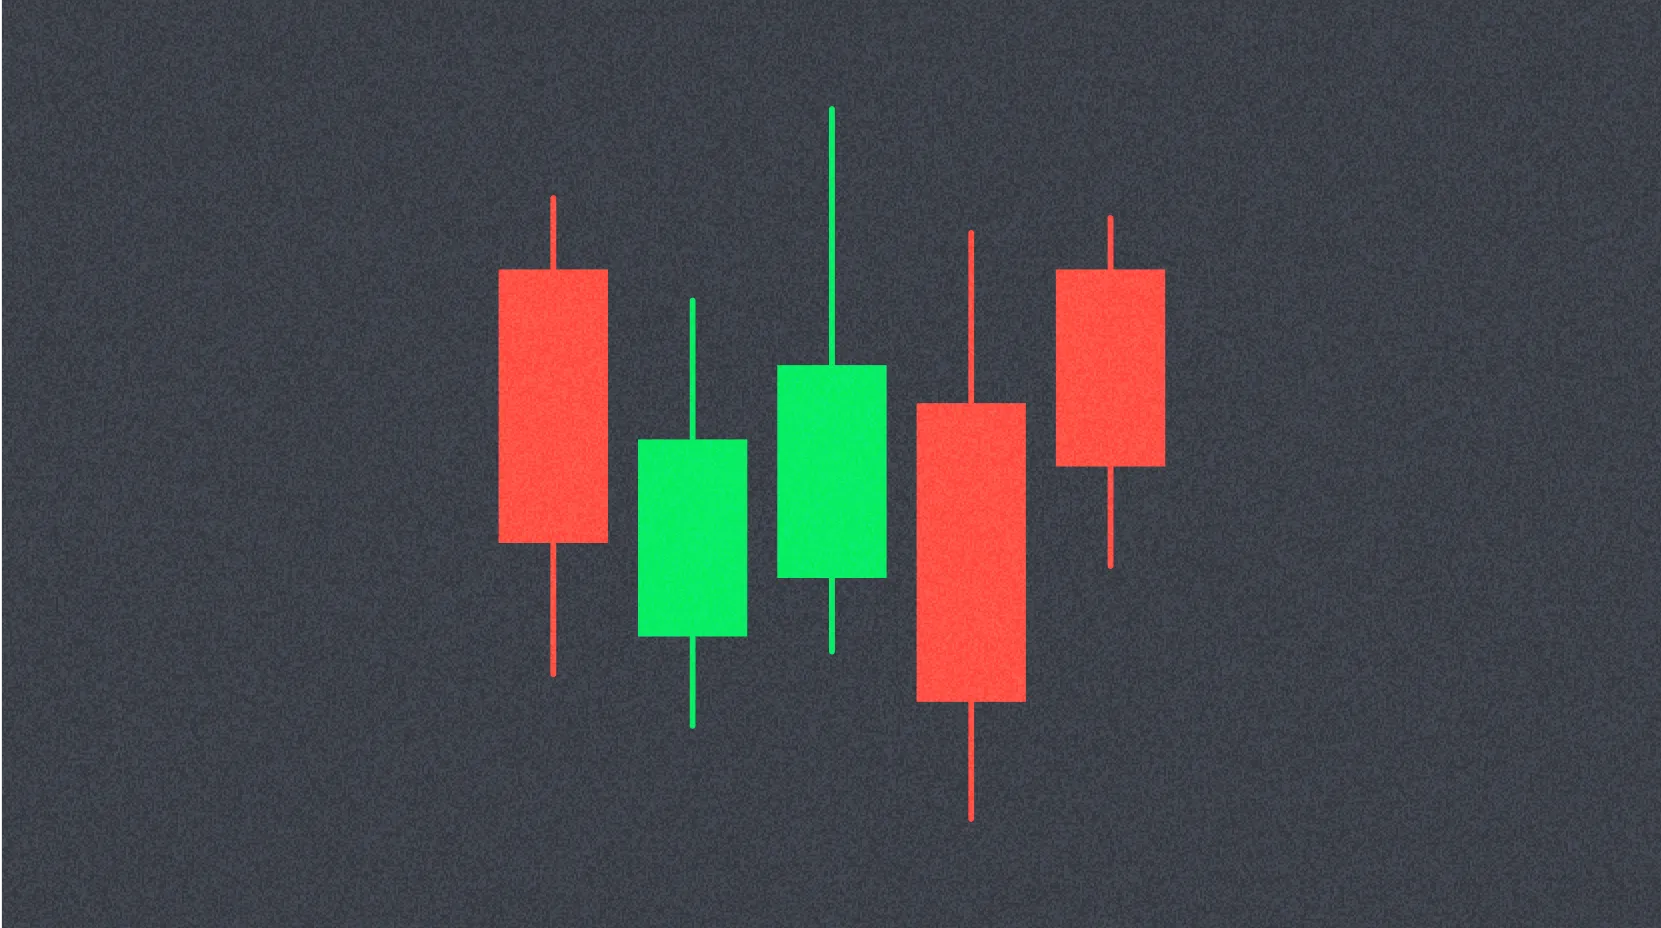
The characteristics of candlesticks within zones provide crucial information about their strength. Narrow Price Range candles or candles with long wicks but limited body movement indicate high uncertainty and volatility. When viewed on longer timeframes, these may appear as Doji-type candles, suggesting price indecision and increased probability of a significant move.
Conversely, when a strong breakout candle emerges from the consolidation zone with a long body and minimal wicks, it signals robust buying or selling momentum. Such candles indicate conviction among market participants and suggest a higher probability of trend development. The absence of wicks demonstrates that price moved decisively in one direction without significant opposition.
Additionally, analyzing the volume accompanying these candlestick patterns can further validate the strength of demand or supply zones. High volume during breakouts typically confirms genuine momentum shifts, while low volume may suggest weak conviction and potential false breakouts.
Time and Proportion Analysis
When observing the formation of a base zone, careful attention to the time spent in consolidation relative to the preceding trend provides valuable insights. Generally, if price remains stagnant for an excessively long period, it may indicate an inability to continue in the breakout direction.
One popular method for evaluation involves relative comparison. For example, if a preceding downtrend took 5 candlesticks to develop, but the subsequent consolidation zone extends beyond 10 candlesticks, this disproportion may suggest that selling pressure has been exhausted. The extended consolidation allows buyers time to accumulate positions and prepare for a potential reversal.
The proportion between the trend phase and the base phase serves as an indicator of momentum strength. Shorter consolidations relative to strong trends suggest continued momentum, while prolonged consolidations may indicate weakening trends or potential reversals. Traders can use these proportional relationships to assess the quality of trading opportunities and adjust their strategies accordingly.
Testing Support and Resistance Levels
After price breaks out from a consolidation zone, a pullback to test the broken support or resistance level generally represents a less favorable signal. Such retests indicate that residual selling or buying pressure from the previous period remains strong enough to challenge the breakout.
Multiple retests of a support or resistance level suggest persistent opposing pressure. However, this also implies that the level holds significant psychological importance for market participants. From this perspective, successful defense of these levels during retests can actually strengthen their validity as future reference points.
Breakouts that occur without subsequent retests typically demonstrate stronger momentum and conviction. When price breaks through a level and continues moving away without looking back, it indicates overwhelming dominance by either buyers or sellers. Such clean breakouts often lead to more sustained trends and offer better trading opportunities with reduced risk of false signals.
The number and manner of retests also provide information about zone strength. Failed retests that result in strong rejections confirm the zone's validity, while successful penetrations on retests may signal weakening of the support or resistance level and potential trend exhaustion.
Entry Points for Trading with Demand Supply Zones
Trading DBR and RBR Patterns
When identifying DBR and RBR patterns, traders should consider entering long positions when price approaches the support level as closely as possible. The closer the entry point to the support zone, the better the risk-reward ratio becomes, as it minimizes potential losses if the analysis proves incorrect.
For optimal execution, traders should wait for confirmation signals such as bullish candlestick patterns, increased buying volume, or momentum indicators turning positive near the demand zone. These additional confirmations reduce the probability of entering positions during false breakouts or continued downward momentum.
Profit targets should be set at previous resistance levels or significant supply zones. Traders can also employ trailing stop-loss strategies to maximize profits during strong trending moves while protecting capital if the trend reverses unexpectedly. Risk management remains crucial, with position sizing adjusted based on the distance between entry point and stop-loss level.
Trading RBD and DBD Patterns
Both RBD and DBD patterns represent bearish scenarios suitable for short positions in futures markets. The trading approach mirrors the long position strategy but in reverse. Traders should initiate short positions as close to the resistance level or supply zone as possible to optimize risk-reward ratios.
Entry timing should consider confirmation signals such as bearish candlestick patterns, increasing selling volume, or momentum indicators turning negative near the supply zone. These confirmations help distinguish between temporary pullbacks and genuine trend reversals or continuations.
Profit targets should be placed at previous support levels or significant demand zones. Traders should remain vigilant about potential trend reversals, especially when price approaches strong support areas. Implementing proper stop-loss orders above the supply zone protects capital from adverse price movements and unexpected bullish reversals.
Summary of Supply Demand Zone Trading
After exploring the market psychology behind Demand Supply Zones and understanding the dynamics of supply and demand, traders can apply these concepts in various ways to enhance their trading strategies. The knowledge gained from studying these zones provides deeper insights into other technical analysis techniques, as many of these approaches share common foundations in market psychology.
Understanding how demand and supply zones form, identifying the four primary patterns (DBR, RBR, RBD, DBD), and recognizing the factors that determine zone strength enables traders to make more informed decisions. These skills help in identifying high-probability trading opportunities, managing risk effectively, and avoiding common pitfalls associated with trading against dominant market forces.
By integrating Demand Supply Zone analysis with other technical tools such as candlestick patterns, volume analysis, and momentum indicators, traders can develop comprehensive trading systems tailored to cryptocurrency markets. The psychological insights gained from this approach may significantly elevate trading performance and contribute to more consistent results in the dynamic and volatile cryptocurrency trading environment.
Continuous practice in identifying these zones across different timeframes and market conditions, combined with disciplined risk management and emotional control, forms the foundation for successful implementation of Demand Supply Zone strategies in cryptocurrency trading.
FAQ
What is Demand Supply Zone and How is it Formed on Price Charts?
Demand Supply Zone refers to horizontal price areas where market participants are willing to buy or sell. Supply zones are price levels where sellers emerge, creating resistance. Demand zones are levels where buyers step in, forming support. These zones form through price action, trading volume concentration, and market psychology at specific price levels.
How to identify and mark demand supply zones in trading? What are practical methods and tools?
Identify demand supply zones using technical analysis tools like price charts and volume indicators. Mark support and resistance levels where price reversed. Use candlestick patterns and trading volume to confirm zones. These areas help predict price movements and entry/exit points effectively.
What is the best strategy for using demand supply zones in trading? How should entry and exit points be determined?
Enter within demand zones with stop loss 5-10 pips outside the zone. Set profit targets at 2-3 times your stop loss. Apply the same logic to supply zones. Adjust parameters based on market conditions and volatility for optimal results.
What is the difference between Demand Supply Zone and Support Resistance Level? How to use them together?
Demand Supply Zones are area-based levels where buyers and sellers converge, while Support Resistance levels are fixed price lines. Combine them by using Supply Zones as entry points and Support Resistance levels to monitor price action and set stop-losses for better risk management.
What are the risks of trading with Demand Supply Zones and how to set stop losses to manage risks?
Demand Supply Zone trading carries price breakout and reversal risks. Set stop losses outside zones to manage exposure effectively. Adjust stops based on your risk tolerance and diversify trades to further reduce overall risk.
How do Demand Supply Zones perform differently across different timeframes (daily, 4-hour, 1-hour)?
Demand Supply Zones exhibit different characteristics across timeframes. Daily charts show stable, long-term trends with stronger support/resistance levels. 4-hour charts provide medium-term insights with more detailed price action. 1-hour charts capture short-term volatility and precise entry points, offering more frequent trading opportunities but requiring careful confirmation.
How to determine if a demand supply zone is valid? When will a demand supply zone become invalid?
A valid demand supply zone shows price consolidation and volume concentration within that area. It becomes invalid when price breaks out rapidly with increased trading volume, indicating shifted market dynamics and institutional participation.

2025 SUI coin: price, buying guide, and Staking rewards

How to Trade Bitcoin in 2025: A Beginner's Guide

Shiba Inu Coin Price and News Update: 2025 Market Analysis

How to Buy Crypto: A Step-by-Step Guide with Gate.com

Spot Trading vs Futures Trading: Which Crypto Assets Strategy Is More Suitable for You?

Pi Coin Price in 2025: Current Value and Market Analysis

Free Money for App Registration: Crypto Rewards Guide

Top 4 Cryptocurrency Exchanges for Free Registration Bonuses

What is Slippage? How Can We Avoid It While Trading Crypto?

Mining Calculator: How to Calculate Mining Profitability

Revolut Quiz Answers


