Understanding Demand and Supply Zones in Trading: Comprehensive Guide and Application Strategies


What Are Demand and Supply Zones
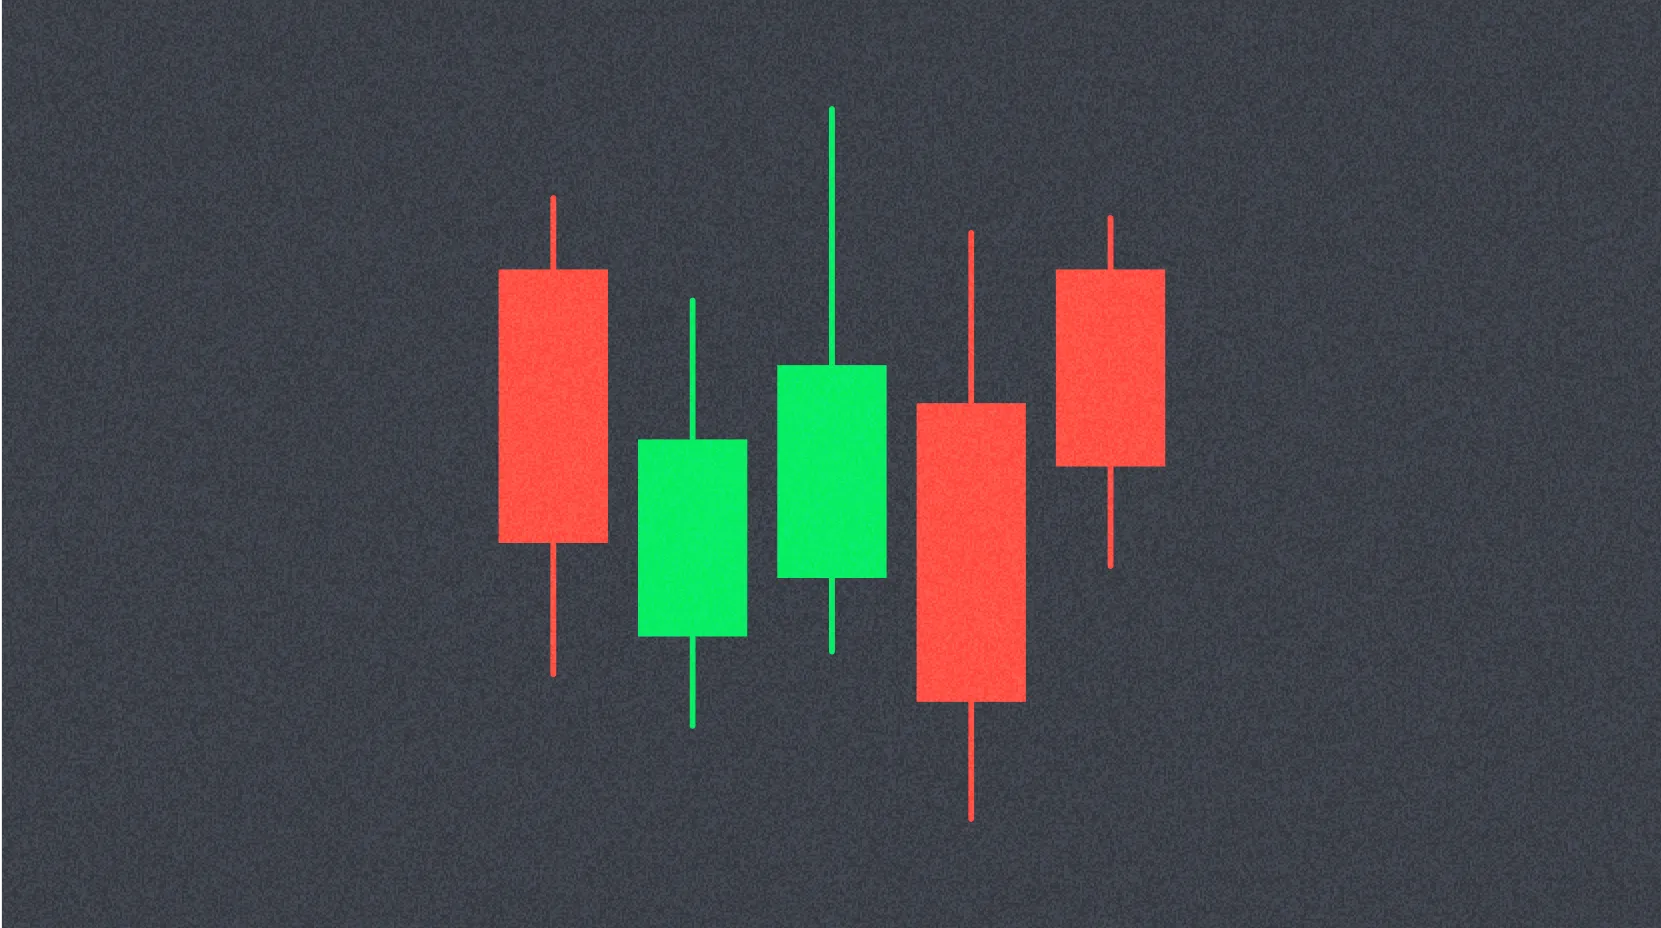
Demand and Supply Zones represent critical price areas where significant buying and selling activities occur in financial markets. These zones are fundamental concepts rooted in the economic principles of supply and demand, forming the psychological foundation behind support and resistance levels.
A Demand Zone refers to a price area where buying pressure is concentrated, indicating strong purchasing interest from market participants. Conversely, a Supply Zone represents a price area where selling pressure dominates, showing significant distribution activity. These zones are typically identified by analyzing price action patterns where the market has previously demonstrated strong reactions.
Traders commonly use Demand and Supply Zones in conjunction with traditional support and resistance analysis to identify potential entry and exit points. The key difference lies in the zone-based approach, which acknowledges that significant price levels often exist as areas rather than precise points, providing a more realistic framework for market analysis.
Demand Zone Patterns
Demand Zone: Drop Base Rally (DBR)
The Drop Base Rally pattern emerges when the market experiences a downtrend followed by a consolidation phase, which then transitions into an uptrend. This formation signals a potential trend reversal from bearish to bullish sentiment.
The DBR pattern typically indicates that selling pressure has been exhausted during the drop phase. The base formation represents a period where buyers begin accumulating positions, creating a foundation for the subsequent rally. This accumulation phase is crucial as it demonstrates a shift in market sentiment, with buyers gaining control from sellers.
Traders often view DBR patterns as high-probability setups because they represent a clear shift in market dynamics. The zone created during the base phase becomes a significant demand area where buyers have previously shown strong interest, making it a potential support level for future price action.
Demand Zone: Rally Base Rally (RBR)
The Rally Base Rally pattern occurs within an existing uptrend when the market pauses to consolidate before continuing higher. This formation represents a healthy correction within a bullish trend, where some traders take partial profits while new buyers enter the market.
The RBR pattern demonstrates strong underlying demand, as the market quickly resumes its upward trajectory after a brief consolidation. This pause allows the market to digest recent gains and attract fresh buying interest at relatively lower prices within the uptrend.
This pattern is particularly valuable for trend-following strategies, as it provides opportunities to enter positions in the direction of the prevailing trend with well-defined risk parameters. The base area serves as a demand zone where buyers have consistently stepped in to support prices.
Supply Zone Patterns
Supply Zone: Rally Base Drop (RBD)
The Rally Base Drop pattern manifests when an uptrend is followed by a consolidation period, which then transitions into a downtrend. This formation signals a potential trend reversal from bullish to bearish sentiment.
The RBD pattern indicates that buying pressure has weakened following the initial rally. The base formation represents a distribution phase where sellers begin taking control, preparing for the subsequent decline. This distribution period is critical as it marks the transition point where market sentiment shifts from bullish to bearish.
Traders recognize RBD patterns as potential reversal signals, particularly when they occur at significant resistance levels. The zone created during the base phase becomes a supply area where sellers have demonstrated strong interest, making it a potential resistance level for future price movements.
Supply Zone: Drop Base Drop (DBD)
The Drop Base Drop pattern occurs within a downtrend when the market consolidates briefly before continuing lower. During this consolidation, some market participants may perceive prices as attractive for accumulation, but selling pressure remains dominant.
The DBD pattern reflects persistent bearish sentiment, with sellers maintaining control despite temporary pauses in the decline. The base area represents a supply zone where selling interest consistently overwhelms buying attempts, leading to continued downward pressure.
This pattern is valuable for traders looking to enter short positions or manage existing long positions, as it provides clear zones where selling pressure has historically dominated. The consolidation phase offers opportunities to position for the continuation of the downtrend with well-defined risk management parameters.
Analyzing the Strength of Demand and Supply Zones
Candlestick Analysis
Candlestick patterns provide crucial insights into the strength and validity of demand and supply zones. Narrow price range candles or candles with long wicks but minimal body movement indicate indecision and price consolidation within a tight range. This compression often precedes significant price movements.
Strong breakout candles characterized by long bodies with minimal wicks demonstrate decisive market action and strong momentum. When such candles emerge from a consolidation zone, they signal powerful buying or selling pressure, increasing the probability of sustained price movement in the breakout direction.
The quality of candlestick formations within and around zones helps traders assess the likelihood of zone holding or breaking. Clean, decisive candles suggest strong conviction, while choppy, overlapping candles may indicate weaker zones that are more likely to be violated.
Time and Proportion Analysis
The temporal aspect of zone formation provides valuable information about market dynamics. Extended consolidation periods may indicate that the market lacks the momentum to continue in the previous direction, potentially signaling an impending trend reversal.
Relative proportion analysis involves comparing the duration and magnitude of different price movements. For example, if a downtrend develops over five candlesticks but the subsequent consolidation extends beyond ten candlesticks, this disproportion suggests that selling pressure has significantly diminished, increasing the probability of a bullish reversal.
Traders use these temporal relationships to gauge the balance between buying and selling pressure. Disproportionately long consolidations relative to preceding trends often indicate accumulation or distribution phases, which can provide early signals of potential trend changes.
Support and Resistance Testing
The manner in which price interacts with support and resistance levels after a breakout reveals important information about zone strength. When price breaks out from a consolidation zone but quickly returns to retest the broken level, this behavior suggests residual opposing pressure and reduces the reliability of the breakout.
Multiple retests of a support or resistance level generally weaken the zone, as each test consumes the available buying or selling interest at that level. Conversely, clean breakouts without immediate retests demonstrate strong momentum and conviction, indicating a higher probability of sustained movement.
Successful retests that hold and lead to continuation moves can actually strengthen zones by confirming them as valid support or resistance areas. However, failed retests that result in price reversing back through the zone often lead to false breakouts and trapped traders, creating opportunities for counter-trend moves.
Entry Strategies Using Demand and Supply Zones
Trading DBR and RBR Patterns
When trading Drop Base Rally and Rally Base Rally patterns, traders should focus on entering long positions as close to the demand zone as possible. Proximity to the zone minimizes potential losses if the analysis proves incorrect while maximizing the reward-to-risk ratio.
The optimal entry strategy involves waiting for price to return to the identified demand zone and showing signs of rejection or reversal. This approach confirms that the zone remains active and that buyers are defending the level. Additional confirmation signals such as bullish candlestick patterns or momentum indicators can enhance entry timing.
Profit targets for these patterns are typically set at previous resistance levels or supply zones. This approach aligns with the principle of trading from support to resistance, capturing the price movement between significant zones while maintaining realistic expectations based on historical price behavior.
Trading RBD and DBD Patterns
Rally Base Drop and Drop Base Drop patterns require short-selling strategies or bearish positioning. Traders should aim to enter short positions as close to the supply zone as possible, applying the same risk management principles used for long positions but in reverse.
The entry process involves waiting for price to rise into the identified supply zone and demonstrating signs of rejection or reversal to the downside. Confirmation through bearish candlestick patterns, volume analysis, or momentum indicators increases the probability of successful trades.
Profit targets for bearish patterns are typically established at previous support levels or demand zones. This strategy captures the expected price decline from supply to demand zones, providing clear exit points based on historical price action and zone analysis.
Comprehensive Summary of Supply and Demand Zone Trading
Mastering Demand and Supply Zone analysis provides traders with a robust framework for understanding market dynamics and making informed trading decisions. This methodology integrates seamlessly with other technical analysis approaches, including Dow Theory, Wyckoff Method, and Elliott Wave Theory, creating a comprehensive analytical toolkit.
The zone-based approach acknowledges the reality that significant price levels function as areas rather than precise points, accommodating the natural behavior of financial markets. By identifying where institutional participants have historically shown strong interest, traders can position themselves advantageously relative to major market forces.
Successful application of supply and demand analysis requires practice in pattern recognition, zone identification, and timing. Traders must develop the ability to assess zone strength through multiple factors including candlestick formations, time proportions, and retest behavior. This multifaceted analysis approach increases the reliability of trading signals and improves overall trading performance.
Integrating supply and demand concepts with proper risk management, position sizing, and trading psychology creates a complete trading methodology. As traders gain experience with these concepts, they develop a deeper understanding of market structure and participant behavior, potentially elevating their trading capabilities to professional levels.
FAQ
What are Supply and Demand Zones (供需区域)? What is their role in trading?
Supply and Demand Zones are price levels where significant buying or selling activity is expected to occur. These zones help traders identify potential entry and exit opportunities by marking areas where market reversals frequently happen, guiding strategic position management.
How to identify and mark supply and demand zones on a chart?
Identify demand zones at price lows and supply zones at price highs by locating historical reversal points. Draw horizontal lines at these levels. Confirm using trading volume and price reactions. Demand zones act as support, supply zones as resistance. Use higher timeframes for more reliable zones.
What is the difference between supply and demand zones and support/resistance levels?
Supply and demand zones are price areas yet to be confirmed, while support and resistance levels are already-established price levels. Supply and demand shape future price movements, whereas support and resistance influence current price behavior.
How to formulate trading entry and exit strategies using supply and demand zones?
Identify supply and demand zones on price charts where buying or selling pressure dominates. Enter long positions near demand zones during uptrends and short positions near supply zones during downtrends. Set exit points at opposite zones or when price breaks through with significant volume, maximizing profit potential and risk management efficiency.
What are the key considerations when applying supply and demand zones across different timeframes (daily, hourly, minute charts)?
Different timeframes require careful alignment. Daily supply-demand zones may fragment into multiple zones on hourly or minute charts, making direct application ineffective. Match your trading strategy to the specific timeframe, ensuring zone analysis remains consistent with your chosen time scale for reliable trading signals.
When supply and demand zones fail or are broken through, how should traders respond?
Traders should immediately reassess market momentum, identify new support and resistance levels, adjust stop losses accordingly, and only re-enter positions once fresh supply and demand zones are established and confirmed by trading volume.
How to combine other technical indicators (such as candlestick patterns and moving averages) to verify the validity of supply and demand zones?
Combine candlestick patterns with moving averages to validate supply and demand zones. Dense candlestick formations in these areas signal stronger support or resistance, while moving averages crossing these zones can confirm their effectiveness and reliability.
What are common mistakes in supply and demand zone trading and how to avoid them?
Common mistakes include relying solely on supply-demand analysis while ignoring other market factors. Avoid this by conducting comprehensive market analysis, considering multiple indicators, and adjusting predictions based on broader economic conditions and sentiment shifts.
How do application strategies for supply and demand zones differ between trending and range-bound markets?
In trending markets, supply and demand zones identify breakout points and momentum continuations. In range-bound markets, these zones mark reversal areas. Supply zones indicate selling pressure; demand zones indicate buying interest. Trending markets favor directional trades at zones, while range-bound markets favor mean-reversion strategies.
How to use supply and demand zones to set stop-loss and take-profit levels?
Place stop-loss beyond the zone's opposite side; if the zone breaks, exit immediately. Set take-profit levels within the zone to lock profits. Use zone boundaries as key decision points for position management and risk control.
Share
Content
How to Buy Cryptocurrency


Trending Cryptocurrencies


How to Withdraw Money from Crypto Exchanges in 2025: A Beginner's Guide

Hedera Hashgraph (HBAR): Founders, Technology, and Price Outlook to 2030

Jasmy Coin: A Japanese Crypto Tale of Ambition, Hype, and Hope
IOTA (MIOTA) – From Tangle Origins to 2025 Price Outlook
Bitcoin Price in 2025: Analysis and Market Trends

How to Trade Bitcoin in 2025: A Beginner's Guide

What is ZF: A Comprehensive Guide to the Zermelo-Fraenkel Set Theory Axioms and Their Foundational Role in Modern Mathematics

What is ADAPAD: A Comprehensive Guide to Adaptive Personalized Assessment and Development

What is LEVER: A Comprehensive Guide to Understanding Mechanical Advantage and Its Real-World Applications

What is BILLY: A Comprehensive Guide to Understanding the Revolutionary AI Assistant and Its Impact on Modern Technology

What is SAUBER: A Comprehensive Guide to the Swiss Motorsport Team's Legacy and Performance